
.......one last one, with the floor around the cabinet tidy and vacuumed.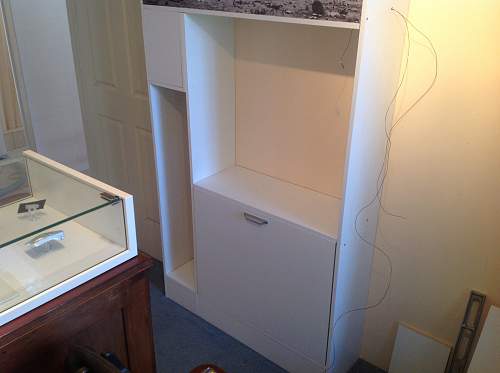


.......one last one, with the floor around the cabinet tidy and vacuumed.
Bunnings is certainly a great shop Glenn, I live there! Fortunately I have my own tools so I can cut all this stuff which is handy but the missus gets a bit disappointed in the mess I manage to create!by Glenn66

Looks great, with all this work behind you is there anything you would have done differently now?
Thanks for the compliments Glenn, yes mate, I'd have done a few things differently. I'm not a carpenter by any means so I've buggered up a few joins and things but I reckon by the time I run some white gap fillet around the edges you'd never know. There is one part I'm not too happy with which is where I made the long narrow display, I buggered up the top of it because I changed my mind about what I was doing half way through. I think I'll be able to hide the mistake by covering it with the frame that will hold the Perspex in place so I reckon I may have dodged a bullet there. I have a few ideas about how I will lay out the next section which I'm sure will pose its own challenges as, no doubt, I'll be making it up as I go along!
nice work dave,i understand what you mean though screw points visible on the face side is the last thing you want .can i ask are you a chippy by trade if not you are a real handy bloke ,nice stahlhelm bust in the background too
Acouple of those little plastic button things will cover any screw heads nicely.
Thanks for the nice comments James! No mate, I'm no chippy, I'm a tour guide working in the automotive industry at the moment as a welder. I do enjoy making things though, I finished a roof rack for my landrover last week and I'm hoping to have this cabinet finished in another couple of weeks but I'm learning as I go with this project as wood is not something I usually work with. It's coming along and I'm reasonably happy with the way it's shaping up and, most importantly, the missus seems reasonably pleased with its progress!
...always a good idea
You will have to hold an opening ceremony when the display is finished!
I collect, therefore I am.
Nothing in science can explain how consciousness arose from matter.
Good job Dave nice quality workmanship can't wait to see the finished project .
Regards Mark
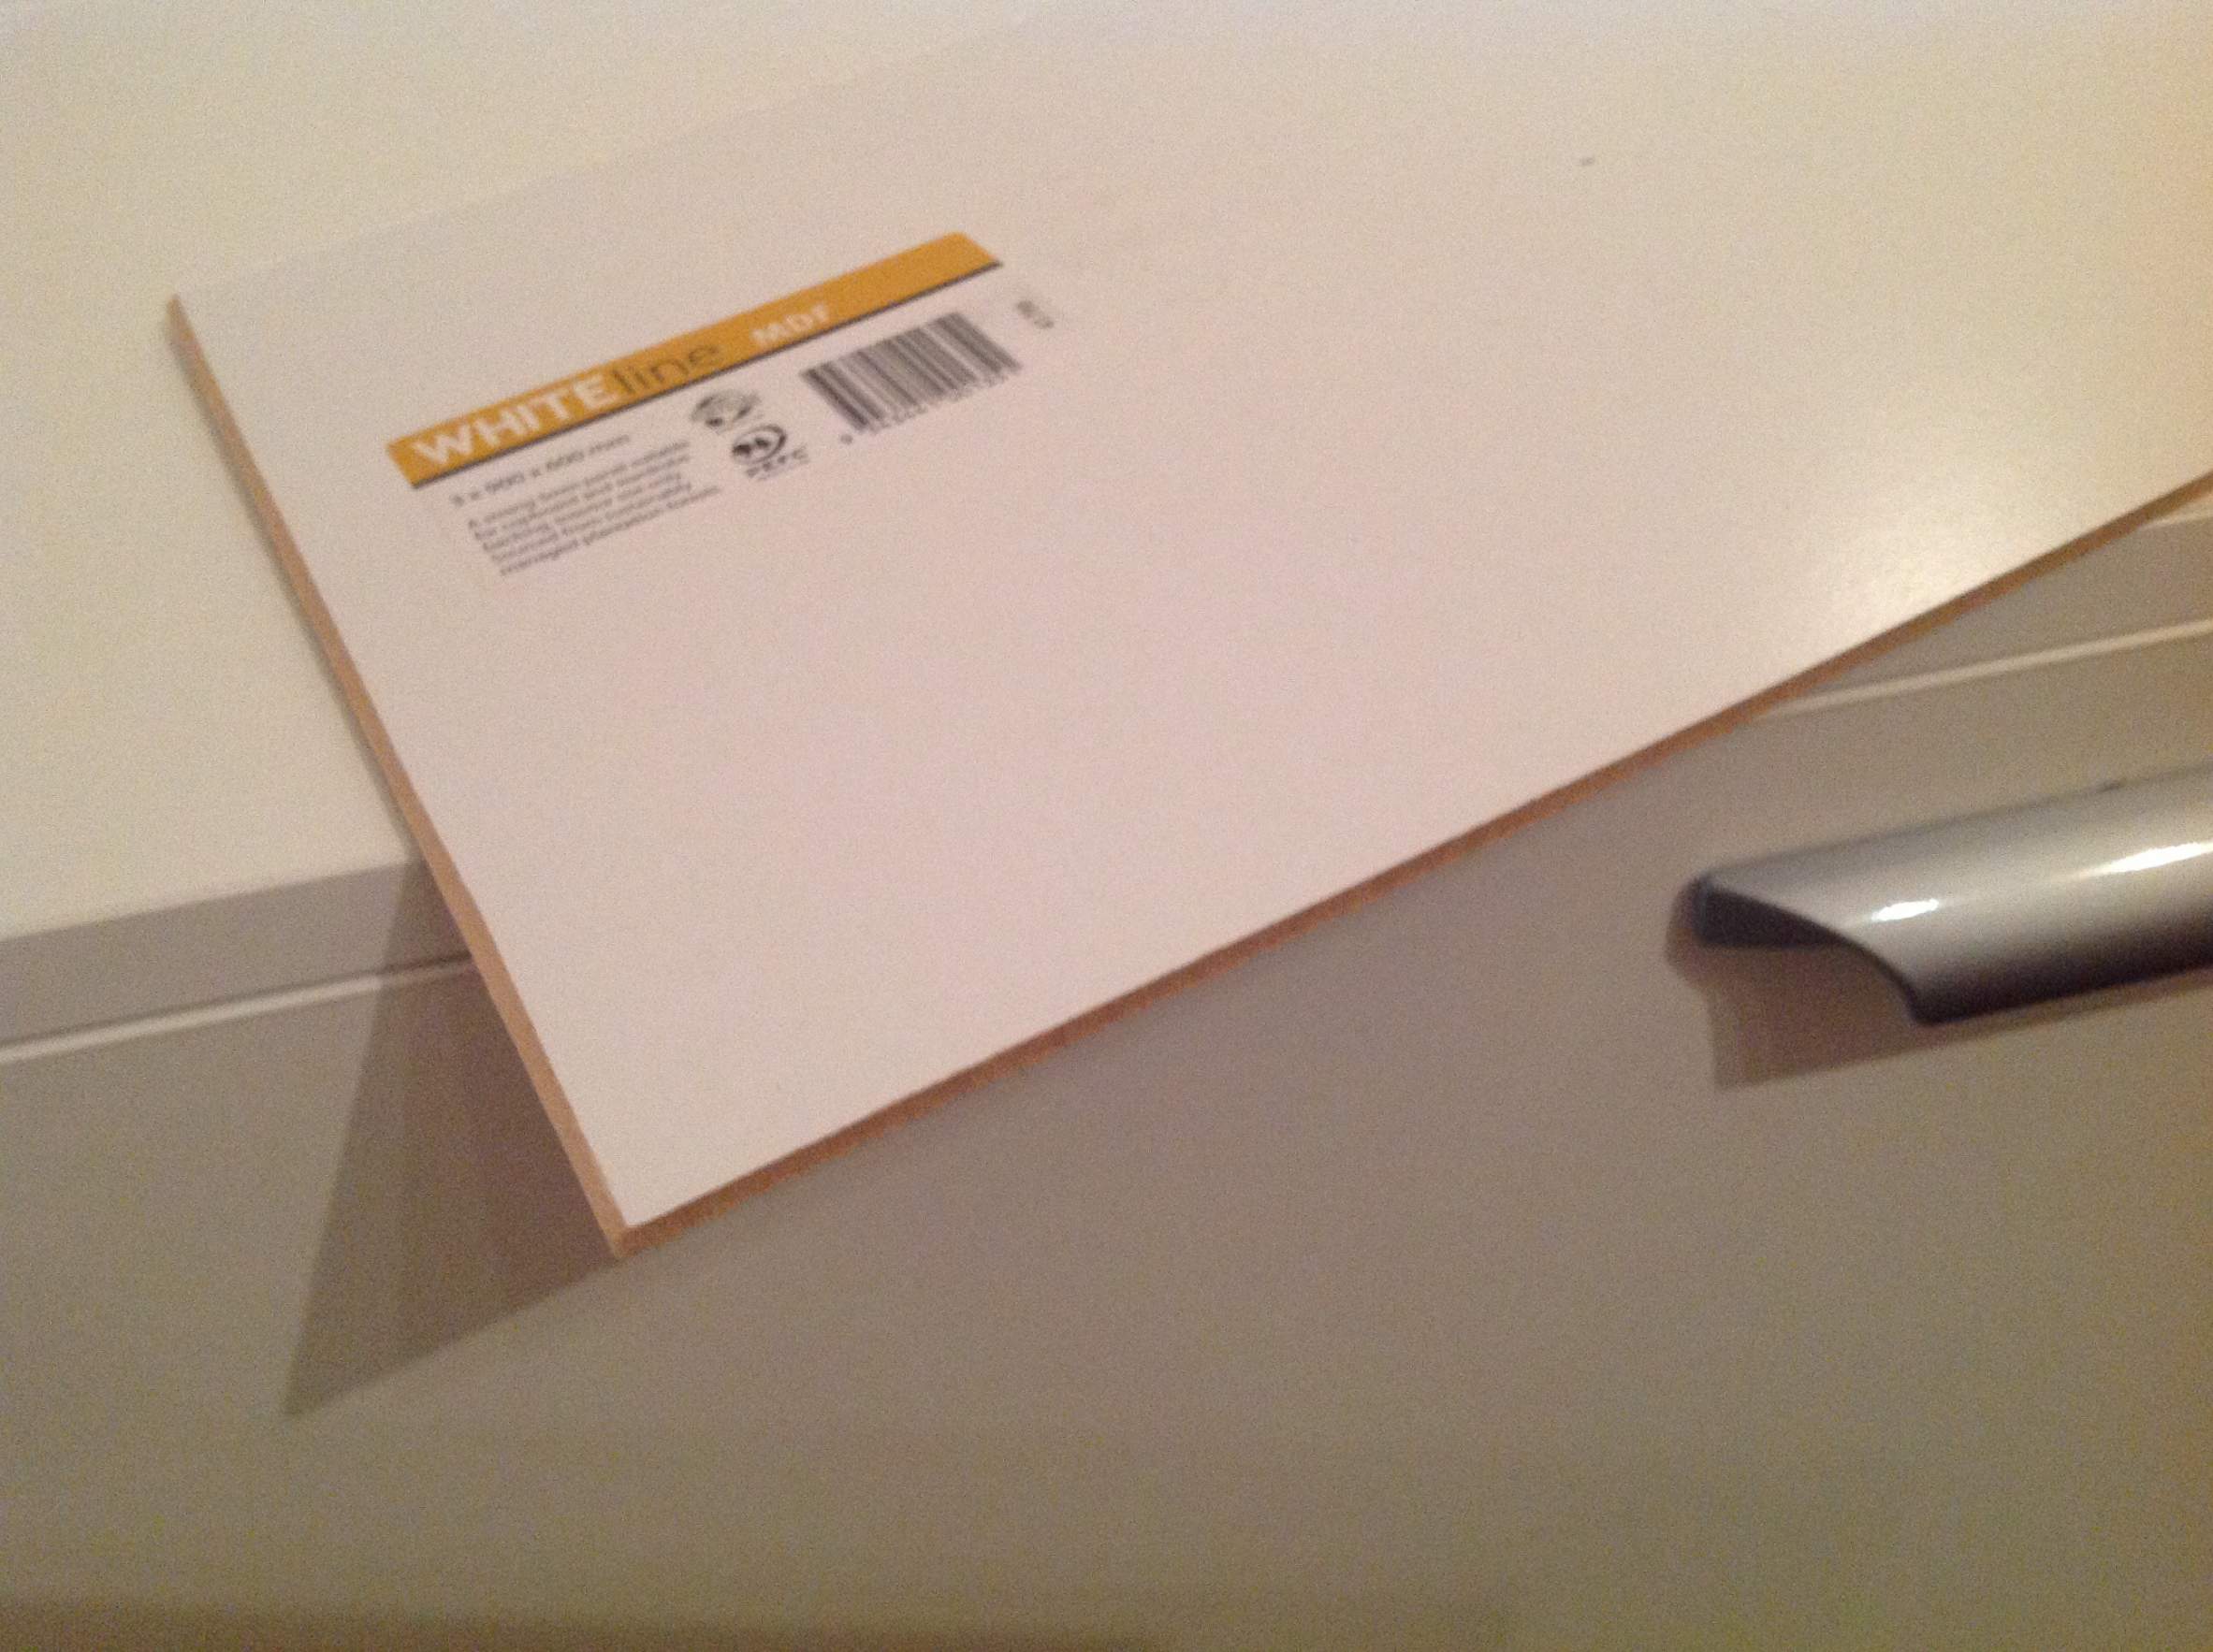
A little bit more done gents, nothing spectacular just the white background for the display. I used a piece of white MDF for this, it's only about 3mm thick but is the same white as the melamine I'm using for the cabinet. It also weighs nothing, I measured and cut it to size then ran a couple of pieces of extra strong double sided tape down the wall, close to the edge of the melamine. Then I pushed the MDF into place against the wall where the double sided tape picked it up and held it firmly in place. I then used some white gap filler and ran it along all of the inside joins, then using my finger, I wiped off the excess. It actually came up pretty well! I've bought some LED strip lights online, just waiting for them to arrive and I'll have a better idea on how to proceed from here.
Cheers boys, Dave.
Similar Threads
 Posting Permissions


Bookmarks